
Home / Guides / Tote bag pockets: how to plan a useful layout
Tote bag pockets: how to plan a useful layout
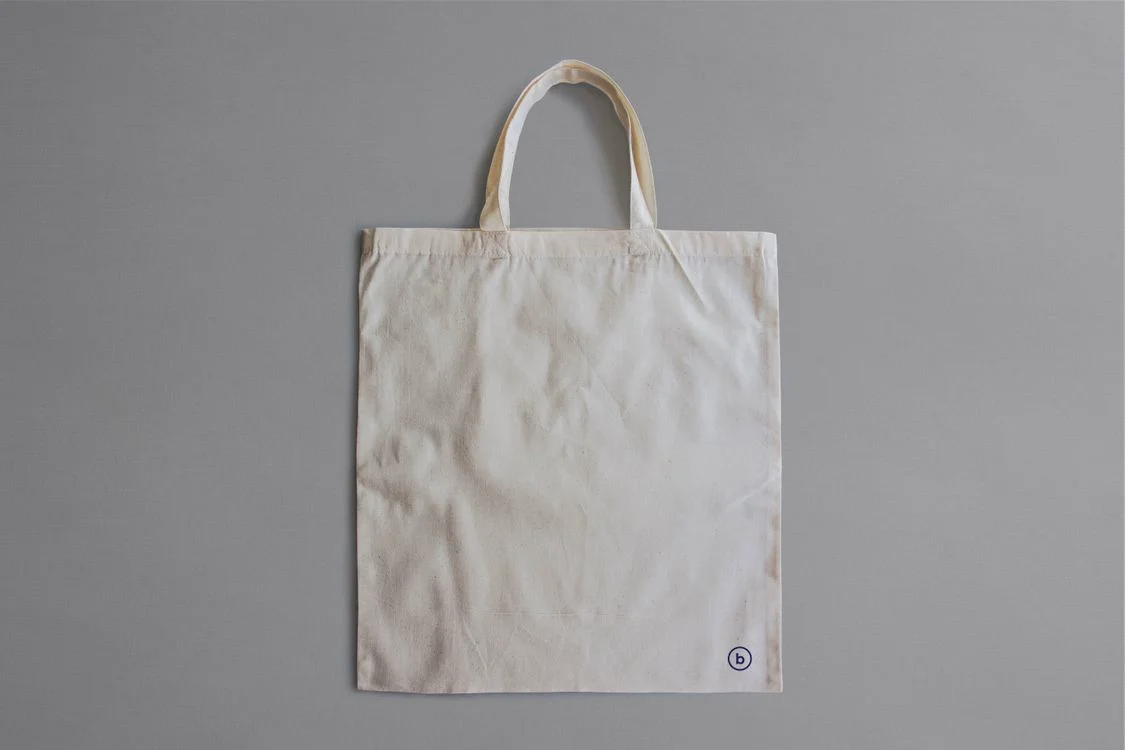
A tote with several pockets is not automatically easier to use than a simple bag. A phone pocket can sit behind a large box, an outside pocket can interrupt a logo, and a bottle compartment can take space from the main load. Start with what each pocket must hold, then decide where the opening belongs.
This guide helps bulk buyers prepare a pocket layout for custom tote bags. It compares storage positions and access rather than choosing a lining or a main bag closure. Treat the layouts as requests to discuss, not a list of options guaranteed for every style. Construction, materials, sampling and cost need confirmation in the quotation.
Give each pocket a specific job
Write a short contents list before drawing the bag. Separate items that need quick access from items that should stay enclosed. A travel card, phone in its case, notebook and bottle each need a different opening. If nothing has a clear reason to go in a separate pocket, an extra compartment may add complexity without solving a problem.
Use the actual items where possible. Measure the phone with its case and the bottle at its widest point, including a handle or lid that must pass through the opening. A description such as phone pocket or bottle holder is not a finished specification. Keep the object dimensions alongside the requested usable pocket dimensions so they are not mistaken for each other.
Compare position and opening separately
| Layout | Useful when | Check before approval |
|---|---|---|
| Inside open pocket | A small item needs a separate place | Reach with the main bag packed |
| Inside zip pocket | Small contents need an enclosed compartment | Clear zip opening and access to the pull |
| Outside front or back pocket | The item is used without opening the tote | Exposure, logo space and visible stitching |
| Side or bottle pocket | An item needs a dedicated side position | Fit, depth and effect on the main compartment |
| Divided pocket panel | Several named items need separate slots | Usable width of every slot, not total panel width |
An interior or exterior position does not tell you whether the pocket closes. Specify both: outside front open pocket is clearer than front pocket. A zip encloses that compartment when closed, but does not make a tote theft-proof, waterproof or safe for any particular valuable. A pocket zip also does not close the main bag opening.
For construction examples, Kyuri's pocket overview separates inner, outer, side and zip pockets. Its suggested measurements are examples for its designs, not universal standards or Priglob specifications. The useful principle is to choose position, opening and dimensions together.
An outside pocket shares space with your branding
Mark the front and back of the tote on the drawing. Show the pocket outline, the opening and the proposed artwork area. Decide whether a logo belongs on the pocket itself or on the main panel. A design that crosses a pocket edge is a different request from a logo centred on one uninterrupted piece of fabric.
Confirm the clear decoration area after allowing for seams, folds and the pocket opening. Do not use the full panel width as the printable width. If the pocket is added over decorated fabric, ask which part of the artwork remains visible. Keep the final pocket position and artwork proof together so a later change to one does not silently invalidate the other.
A bottle pocket needs more than a volume label
Two bottles described with the same liquid capacity can have different diameters, heights and lids. Send the intended bottle reference rather than relying on the capacity alone. Check how far it sits into the pocket, whether it can be removed easily, and whether the opening stretches or has a closure that must be agreed.
Try the bottle with the main compartment loaded, not only with an empty tote laid on a table. An internal holder can occupy space needed by the main contents; a side pocket can change the loaded outline. A fabric divider or open holder is not evidence of insulation, leak containment or impact protection. Any such requirement needs separate materials and supporting evidence.
Record usable dimensions, not just the fabric panel
Specify finished pocket width, depth, clear opening and any gusset or expansion you need. For a divided panel, give each slot its own identifier and usable width. The total width of a panel containing several stitched divisions does not describe what fits inside any one slot.
Show placement from a named finished edge or seam, with the bag orientation labelled. Include the opening direction and whether the pocket should sit on the front, back or side inside the bag. Oksaur Outdoor's pocket specification guide also recommends recording finished size, opening and position, then checking them on the sewn sample. Exact allowances and attachment details should be agreed for the construction rather than copied from a general article.
Review the whole layout, not one pocket at a time
Ask whether pocket attachments will be visible on the opposite side of the bag and whether a handle, label or main closure interferes with access. Lining is a separate decision; our lined versus unlined tote guide covers the interior surface and seam-finish questions. Do not assume that choosing a lining automatically adds pockets or hides every attachment stitch.
For sample review, place the intended contents in all the pockets at the same time and fill the main compartment. Try reaching the openings while holding the bag in its intended carrying position. Open and close each zip without pulling neighbouring fabric into it. Record blocked access, distorted slots or contact between items. These are practical fit checks, not a certified strength test or a promise about load capacity.
Keep the quotation brief easy to compare
- Starting bag style, quantity, body dimensions and intended contents.
- Pocket identifiers, quantity, inside or outside position and opening direction.
- Usable finished measurements, clear openings and item references.
- Open or closed construction, proposed fabric and any lining preference.
- Artwork position, pocket colour and visible stitching preferences.
- A labelled layout drawing, sample checks, destination and required date for confirmation.
Ask for the pocket layout to be named in each quotation. One quote for a single open pocket and another for several zipped compartments are not like-for-like, even when the bag body looks similar. List any proposed alternative separately. Confirm sample arrangements and any extra cost before proceeding; this guide does not set pocket prices or promise that a particular change is available.
Can a standard tote have pockets added later?
Do not assume so. Access for sewing, existing decoration and the assembled bag structure can affect what is practical. If the layout matters to the order, put it in the initial brief. For a repeat order, retain the approved drawing and sample reference, including which side is the front, rather than relying on the instruction same pockets as last time.
Start with a clear layout, then confirm the details
Browse canvas tote bags for a starting style, then send the intended contents and a labelled pocket sketch with your enquiry. Confirm the construction, artwork area and sample requirements for that style in the quote. The aim is not the greatest number of pockets: it is a layout in which each compartment remains useful when the tote is actually packed.