Home / Guides / Woven vs printed labels for tote bags: what to specify
Woven vs printed labels for tote bags: what to specify
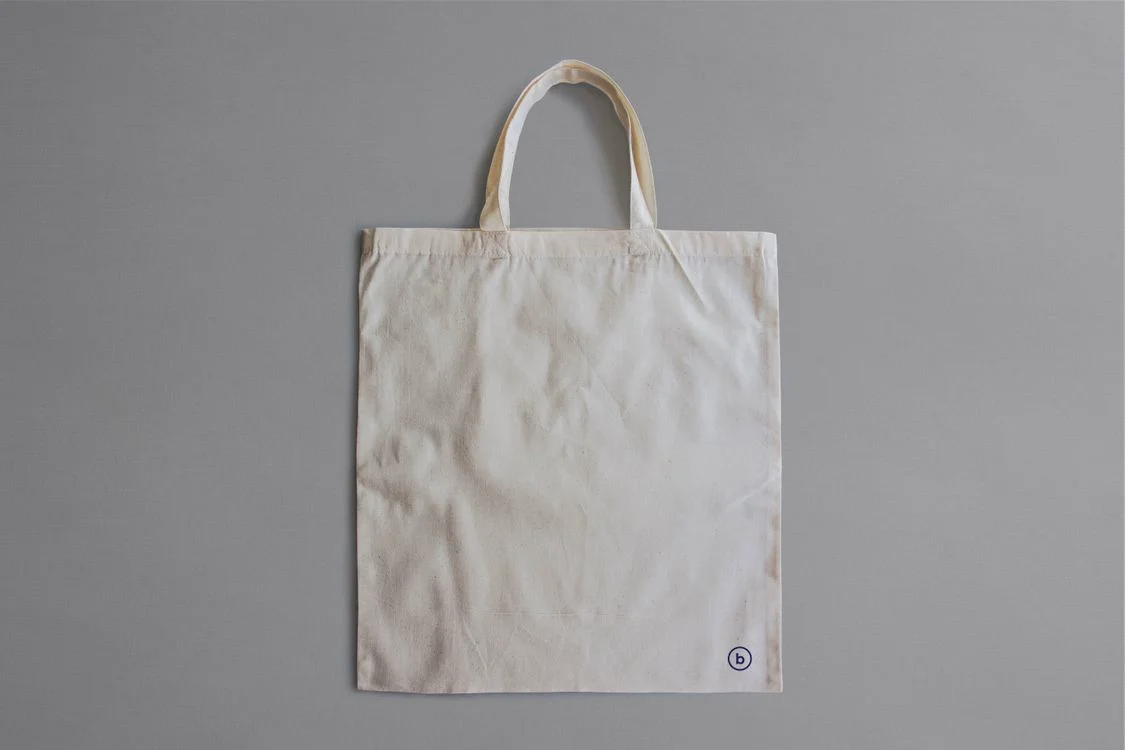
A small sewn label can carry a brand name without covering the front of a tote. Choosing it still needs more than a logo file. The same design can look different when woven in yarn, printed on tape, folded into a seam or stitched flat onto a panel. Decide what the label must show and where it belongs before comparing quotations.
This guide is for buyers planning custom tote bags for retail, gifting or branded merchandise. It covers separate fabric labels, rather than a logo printed directly onto the bag. Label materials, attachment options, quantities and sample arrangements need confirmation for the chosen order; a reference photograph does not establish that every option is available.
Woven and printed describe how the design is made
A woven label forms its lettering and artwork with coloured yarns. A printed fabric label carries ink on a textile base. Neither description tells you the complete material composition, edge finish or attachment method. Ask for those details separately, including the proposed backing where one is used.
Dutch Label Shop's comparison of woven and printed labels explains the basic distinction and the artwork trade-offs. A compact wordmark is a useful starting point for a woven option. Several lines of fine text or a gradient are reasons to compare a printed option at the same finished size. Actual legibility matters more than a generic ranking of one as premium and the other as basic.
| Decision | Woven fabric label | Printed fabric label |
|---|---|---|
| Artwork formation | Coloured yarns form the design | Ink forms the design on a textile base |
| Review closely | Small lettering, fine lines and yarn colour references | Text clarity, print coverage and substrate |
| Specify for either | Finished visible size, folds and exposed edges | Finished visible size, folds and exposed edges |
| Approve on the bag | Position, orientation and stitching | Position, orientation and stitching |
Separate the brand mark from detailed information
Start by writing the exact words the label must carry. A brand name alone needs a different layout from a brand name, website and several lines of product information. Do not shrink every element to fit a small flag. Make a paper layout at the intended visible size and check whether the important text can be read without enlarging it on a screen.
A separate information label can leave the brand mark uncluttered. Any material, care or origin wording must be accurate for the finished bag and checked for the intended market. This is a design brief, not a labelling-compliance checklist. Do not copy care instructions from an unrelated tote or add a certification mark because it appears on a reference image.
Specify visible size as well as the flat label
A label can measure one size before folding and show a much smaller area after sewing. Record both the flat dimensions and the finished visible dimensions, with units. Identify which edges fold behind, which enter a seam and where the stitching will sit. Keep the logo and essential text outside those hidden or stitched areas.
The Custom Woven Labels fold guide shows how centre folds, loop folds and end folds change the layout. Its seam allowances belong to its own production guidance. Ask the proposed label and bag suppliers to confirm the allowance for your construction rather than treating one published number as universal.
For example, a side-seam flag needs a drawing showing what is visible on each side once the seam is closed. A flat label sewn onto an interior panel needs a different drawing, showing its full face and stitch border. The same artwork file does not make those two constructions interchangeable.
Place the label on an assembled tote
Choose whether the mark should be seen while the bag is carried, when it is opened or only during a closer inspection. Possible positions to discuss include an exterior side seam, a flat outer panel or an interior panel. Identify the front and back of the bag on the drawing so that the position cannot be reversed.
Measure placement from a stable feature, such as a named finished seam or the top edge, and show the label orientation. Avoid instructions such as near the corner. Open and fill the sample to see whether a gusset folds over the label, a pocket hides it or the opening makes it awkward to read. Our lined and unlined tote guide helps separate interior construction decisions from the outside appearance.
Check the reverse of the attachment as well. On an unlined tote, stitches or label ends can remain visible inside. On a lined tote, ask which layer receives the label and what is visible on the outer face. A neat label by itself does not show how the complete bag will be finished.
Review artwork and colour on the actual label
Send the current artwork revision and the intended label size together. Ask whether lettering or fine lines need adjustment for the proposed process. If a change is needed, approve the revised design rather than allowing an unclear instruction to simplify the logo. Keep a separate file for the approved label so it is not confused with the larger front-panel print.
Compare physical yarn or printed colour references where colour matters. A screen proof is useful for spelling, layout and orientation, but it does not establish the feel, colour or edge finish of the made label. Our artwork preparation guide covers file and colour briefing for the wider bag design; label artwork still needs review at its own scale.
Check edges, attachment and intended care
Handle the sample where a customer will touch it. Look for rough edges, loose threads, exposed ends and a label that curls or catches on the contents. Check whether the sewing pulls the surrounding panel out of shape. These are observations to record against the agreed sample, not proof of the durability of every label in the order.
Do not assume that woven means fade-proof or that every printed label behaves alike. Ask what material and process are proposed, then agree any care or abrasion checks that matter for the intended use. Review the label with the complete bag. A label that tolerates a cleaning method does not make that method suitable for the bag, print or trims.
Keep the quote and approval record specific
Compare options using the same artwork, visible size, position and bag quantity. Ask whether label production, attachment, development samples and unused labels are included. Confirm how labels will be allocated when an order contains several designs or colours. Do not infer a label minimum, price or lead time from the minimum shown for the bag.
- Bag style and quantity per version, with intended label position.
- Exact wording and artwork revision, including front and reverse where relevant.
- Woven or printed preference, proposed material and physical colour references.
- Flat and visible dimensions, fold drawing, seam allowance and stitch position.
- Sample review points, required evidence and any care checks to agree.
Record corrections with a marked photograph and a new revision name. Keep the accepted label reference beside the bag specification, using the sample approval checklist to distinguish what has been approved from what remains open. Send the brief through the quote form below and ask for the label construction and costs to be confirmed with your chosen tote.