Home / Guides / How to prepare artwork for custom bag printing
How to prepare artwork for custom bag printing
Most print problems on custom bags start long before the printing table: a logo pulled from a website, colours picked from a phone screen, or a design sized for paper instead of fabric. Well-prepared artwork is the single cheapest way to get a first sample that matches what you pictured. This guide covers the file, colour, sizing and placement decisions to make before you send artwork to any bag printer. It pairs with our printing methods guide, which compares screen, digital and embroidery once your artwork is ready.
Start with the right file
Printers work from vector artwork: AI, EPS or vector PDF files, where your logo is made of clean paths that scale to any size without losing sharpness. A JPG or PNG pulled from a website or email signature is usually too small and too soft for a bag print. If you only have a raster file, send the largest version you have - a designer can often redraw it. For photographic or full-colour designs, supply at least 300 dpi at the final print size.
Fix your colours before anyone prints
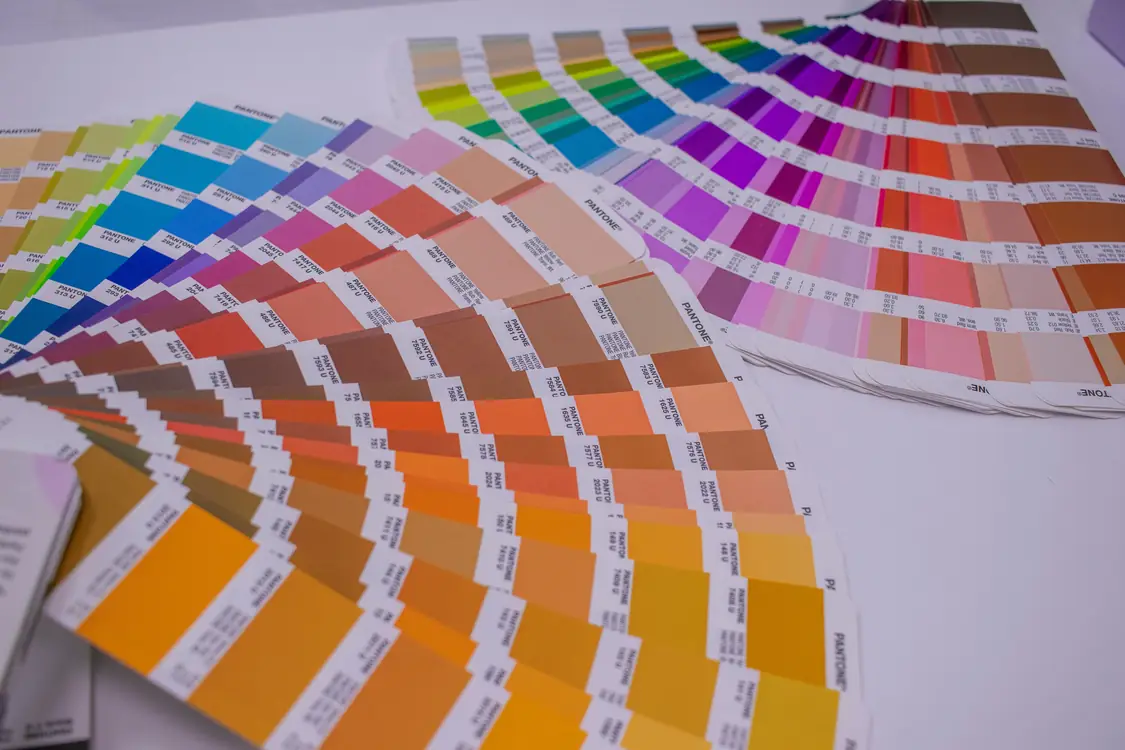
Screens show colour in RGB light; fabric printing uses inks. The same file can look brighter on your phone than it ever can on cotton. For spot-colour screen printing, name your colours from a physical Pantone book - a Pantone code is the closest thing to a shared language between you and the print table. For full-colour digital printing, supply CMYK artwork and expect natural fibres like jute to soften bright tones slightly; unbleached fabrics always dull colours a little compared with white cotton.
Size the design for the bag, not the screen
A logo that fills a laptop screen may print at barely a hand's width on a tote. Decide the physical print size in centimetres: measure a bag you already like and note how wide the print sits on it. Standard tote prints are often 20-30 cm wide, but the right size is the one that suits your design and bag. Remember the print must fit inside the sewable panel, clear of seams, hems and handles.
| Decision | Get it right | Common mistake |
|---|---|---|
| File format | Vector AI, EPS or PDF; 300 dpi raster for photos | Sending a small JPG pulled from a website |
| Colours | Pantone codes for spot colour, CMYK for full colour | Approving colours from a phone screen |
| Print size | Physical width in centimetres, measured on a real bag | Leaving size to the printer to guess |
| Placement | Centred, clear of seams, handles and folds | Artwork that crosses a gusset or hem |
| Approval | Check the sample against your artwork file | Approving bulk from a screen mock-up alone |
Placement and practical limits
Say where the design sits: centred on the bag front is standard, but pocket prints, gusset prints and wrap-around designs are all possible if they are agreed before cutting. Very fine lines, tiny text and photographic gradients can struggle on coarse jute; smooth cotton canvas carries detail best. If your logo has small text, ask for it to be enlarged or simplified - a clean simplified mark prints better than a cramped original.
What to send your printer
A complete artwork brief is short: the vector file, your Pantone or CMYK colours, the print size in centimetres, the placement, and the quantity per design. With those five things, a printer can cost and sample accurately. When the sample arrives, check it against your original file rather than your memory - the sample approval checklist lists exactly what to compare before you approve bulk.
If you are still deciding how the design should be applied, the embroidery guide covers stitched branding, and our ordering process guide shows where artwork fits in the wider order journey. Ready when you are: browse the custom range and request a quote below with your artwork attached or described, and we will confirm the print details with your sample.